
Introduction
Mervis represents a modern SCADA application operated in the Cloud, accessible via the internet without the need for running your own server.
Individual users log in with their respective usernames and passwords. For logged-in users, the configured user rights apply, so each user sees projects and data only from the projects to which they are authorized to access.
The fundamental element is a Project, a group of data points typically representing a building, area, or technology.
A Data Point represents a measured value (e.g., outdoor temperature) or, conversely, a desired value or a command sent to controlled technology. The data point typically includes its value, timestamp (time of the last change), quality, and configured alarm behavior.
Each data point can store its history, which can be displayed using a Graph (see below).
Types of Data Points
| Digital Input | Displays the state of a variable, often masked by expressions: YES/NO, ON/OFF, OK/ALARM (alarm points, commands, current modes, etc.). | |
| Digital Output | Writes the state of a variable, acting as a control element (modes, permissions, reset, etc.). | |
| Analog Input | Displays the value of a variable (temperatures, percentages, pressure, etc.). | |
| Analog Output | Writes the value of a variable (desired temperatures, pressure, power, setting equithermy, etc.). | |
| Controller Time | Represents the internal time of the connected device. | |
| Time Program | Displays a weekly schedule for a specific action, where hours and minutes of start/stop can be set for each day. | |
| Script | For specific requirements, custom functionality can be created for a data point (special reactions to certain events, specific numerical calculations, etc.), requires knowledge of JScript.NET. |
Login
On a computer with internet access, enter the web address https://scada.mervis.info, where the initial login screen is displayed.
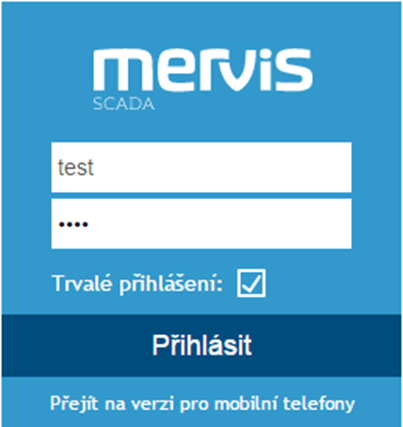 Login Dialog
“Remember Me” - saves the user's identification in the browser, allowing future use without repeatedly entering login credentials.
Two-Factor Authentication
Using an SMS code (user must have a filled-in phone number)


Using a TOTP code (i.e., offline code generated, for example, on the user's mobile phone using the Authenticator app)
Selecting a Project and Basic Controls

1 Selecting a Project
After the first login, it is necessary to choose the project you want to open.

By clicking on the project selection, a menu of available stations opens. In the case of multiple projects, you can use the Filter to search for projects by name.

Usage is straightforward; just start typing the project name into the Filter, and from the first letter, projects will be sorted by name match.
This type of Filter is also used in other overviews.
From the offered list, select the desired project and choose it by a simple double-click.

An open project is represented by a tab. In the case of multiple open projects, you can switch between them using tabs. If the project name is too long, it will be displayed in a shortened form on the tab.
The “X” on the tab is used to close the open project.
2 Selecting a View

Switching between Row View, Graphs, and Schematics, see below.
3 Alarm Overview and Settings
 | Alarm Overview (if there is an active alarm, their count is displayed before it) |
 | Menu (change password, event overview, etc.) |
| Report an error option |
 | Full-screen view |
 | Log out of the program |
Under the buttons, you will find information about the program version, connection quality, and the user.