Definition of LCD menu for PLC
New textual template for a PLC
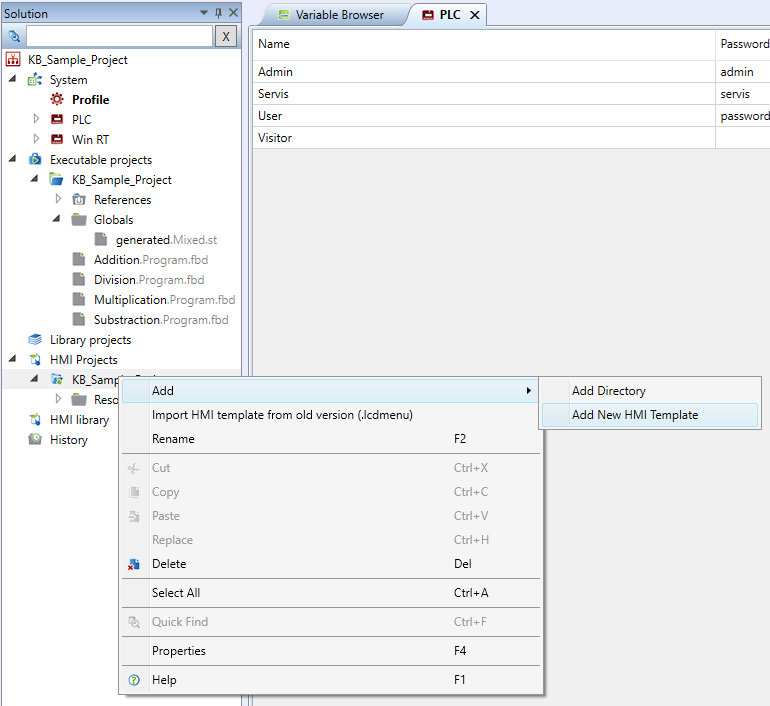
A new HMI template must be created to edit a LCD menu definition for a PLC.
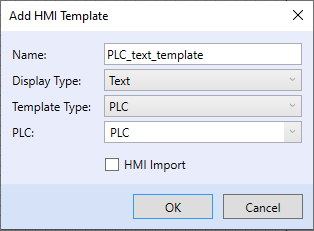
Enter the new template name, display type, template type, and the PLC the template is defined for. The display type is either Text - LCD menu, or Graphic - Web definition. The template type then is either PLC or Terminal. There is only a single PLC to choose from in the Simple mode, while there may be more in the Full mode. To create the textual menu for a PLC then select the options:
The HMI Import tick box activates automatic import of objects which are tagged as HMI Import. Only objects that are compiled for a particular PLC will be imported (i.e. variables linked to HW data points and programs and parts of these, which are defined in the PLC’s tasks).
How to create a template
There are three ways to create a template. They can be combined freely.
1. Using text HMI objects
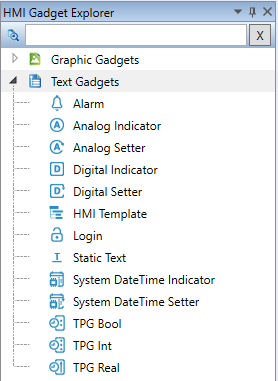
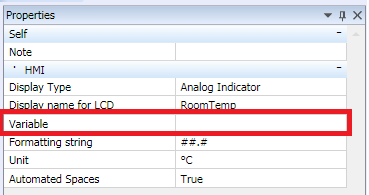
Work with text HMI objects is very similar to work in the previous version of HMI Editor. There are 12 objects with various properties. The obects can be dragged or inserted using a double click into a HMI template. Then, the object instance must be assigned a variable (if related to a data point, such as Analogue indicator).
Together with a variable, it is possible to change also other object properties. See the detailed properties description at the Text HMI Objects page.
2. Automatic import
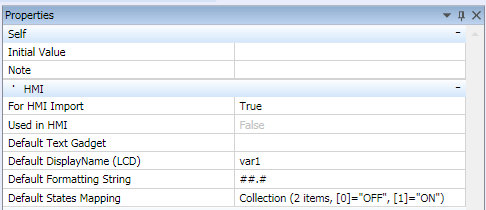
For automatic import, the required variables and function blocks must be tagged as HMI Import. After this tag is active, a default format to display in the LCD menu can be configured.
A function block template may be selected for function blocks. Alarm blocks and TPG blocks are automatically assigned the Alarm status or TPG Bool / Int / Real object respectively. The states of a TPG Int scheduler (such as Day, Night, Off) are read from the predefined block states automatically.
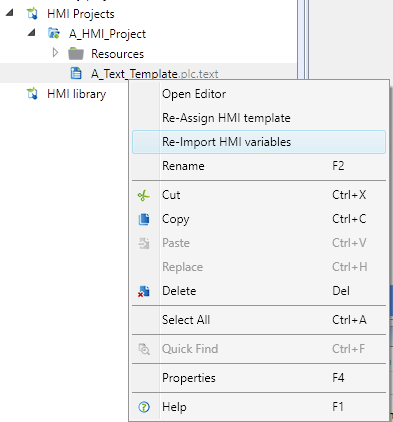
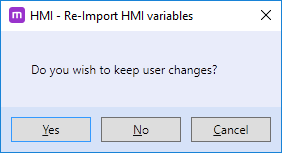
The variables may be imported at the template definition time, or anytime when the software is written. Right click the template to reimport all HMI tagged variables. Then select if all changed made in the template shall be preserved, or if the complete template shall be deleted and all will be replaced by theobjects tagged as HMI Import .
All items in the menu can be dragged to change their position in menu. Objects can be inserted into other objects to create a tree hierarchy.
3. Inserting variables directly into the text menu editor
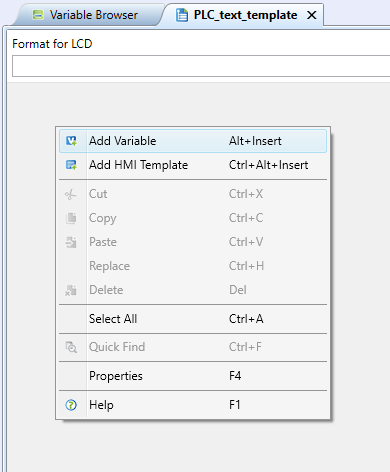
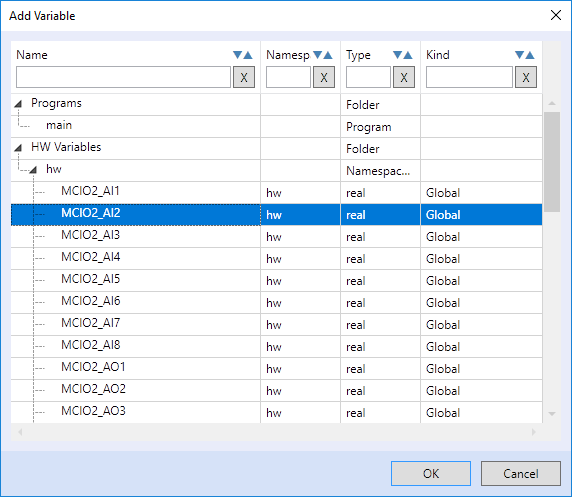
The last way to create a menu is inserting variables into the text menu editor. Right-click the editor and select Add variable. In the following dialogue there are all variables which belong to a particular PLC, be it variables or function blocks.
A single variable or multiple variables can be selected.
4. Creating menu levels (tree structure)
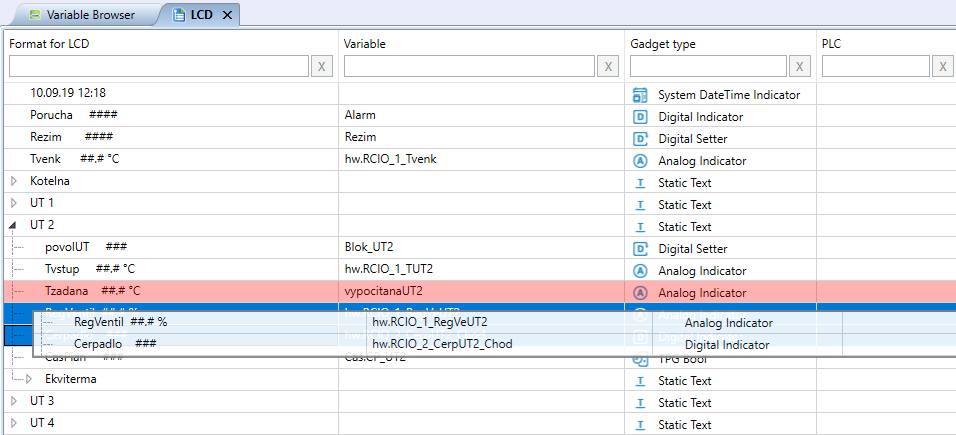
A menu may be organized in a tree structure. Objects of types “Login”, “Static text”, “Analog Indicator” and “Digital Indicator” may contain other objects. Move objects into a submenu by selecting the object to be moved in the template, and by clicking Move in or Move out in the main menu.
Objects to be inserted into a tree can also simply be dragged onto their root objects of “Login”, “Static text”, “Analog Indicator” and “Digital Indicator” types. The root object changes its colour before the object to be moved is inserted.
Importing a template from an external HMI editor
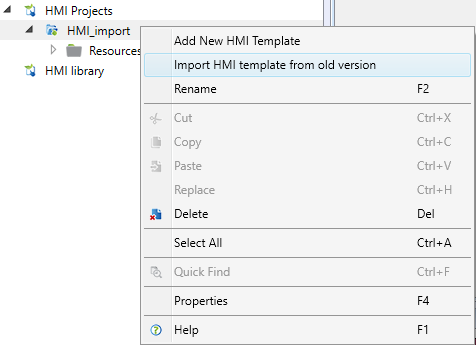
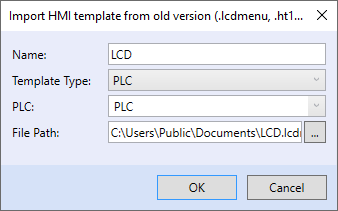
If you have created a template for the LCD menu from an external HMI editor, which was part of Mervis IDE ver. 2.3.0.x and lower, so To import this template into a report, right-click HMI project and select “Import HMI template from older version”.
In the dialog select the template name, the template type select PLC, PLC ke to which the template will be assigned and the path to the file created by the LCD menu.
Assigning a template to a PLC
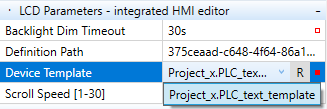
After a template has been created, the template has to be selected in the PLC Properties. In the lower part of properties there are Text menu properties. Select the template here. The *.lcdmenu file is generated automatically. This file will be uploaded to the PLC, unless selected otherwise.
The next step is automatic check of the text lengths and correct assignment of variables and function blocks. If a line is coloured orange, the string is too long and will be rolling on the LCD display. There is also a warning in the Results window. If a line is coloured red, the related message in the Results window contains more information on the error.
